Search This Blog

Monday, March 30, 2015

Kale Caesar Salad with Chickpeas for One


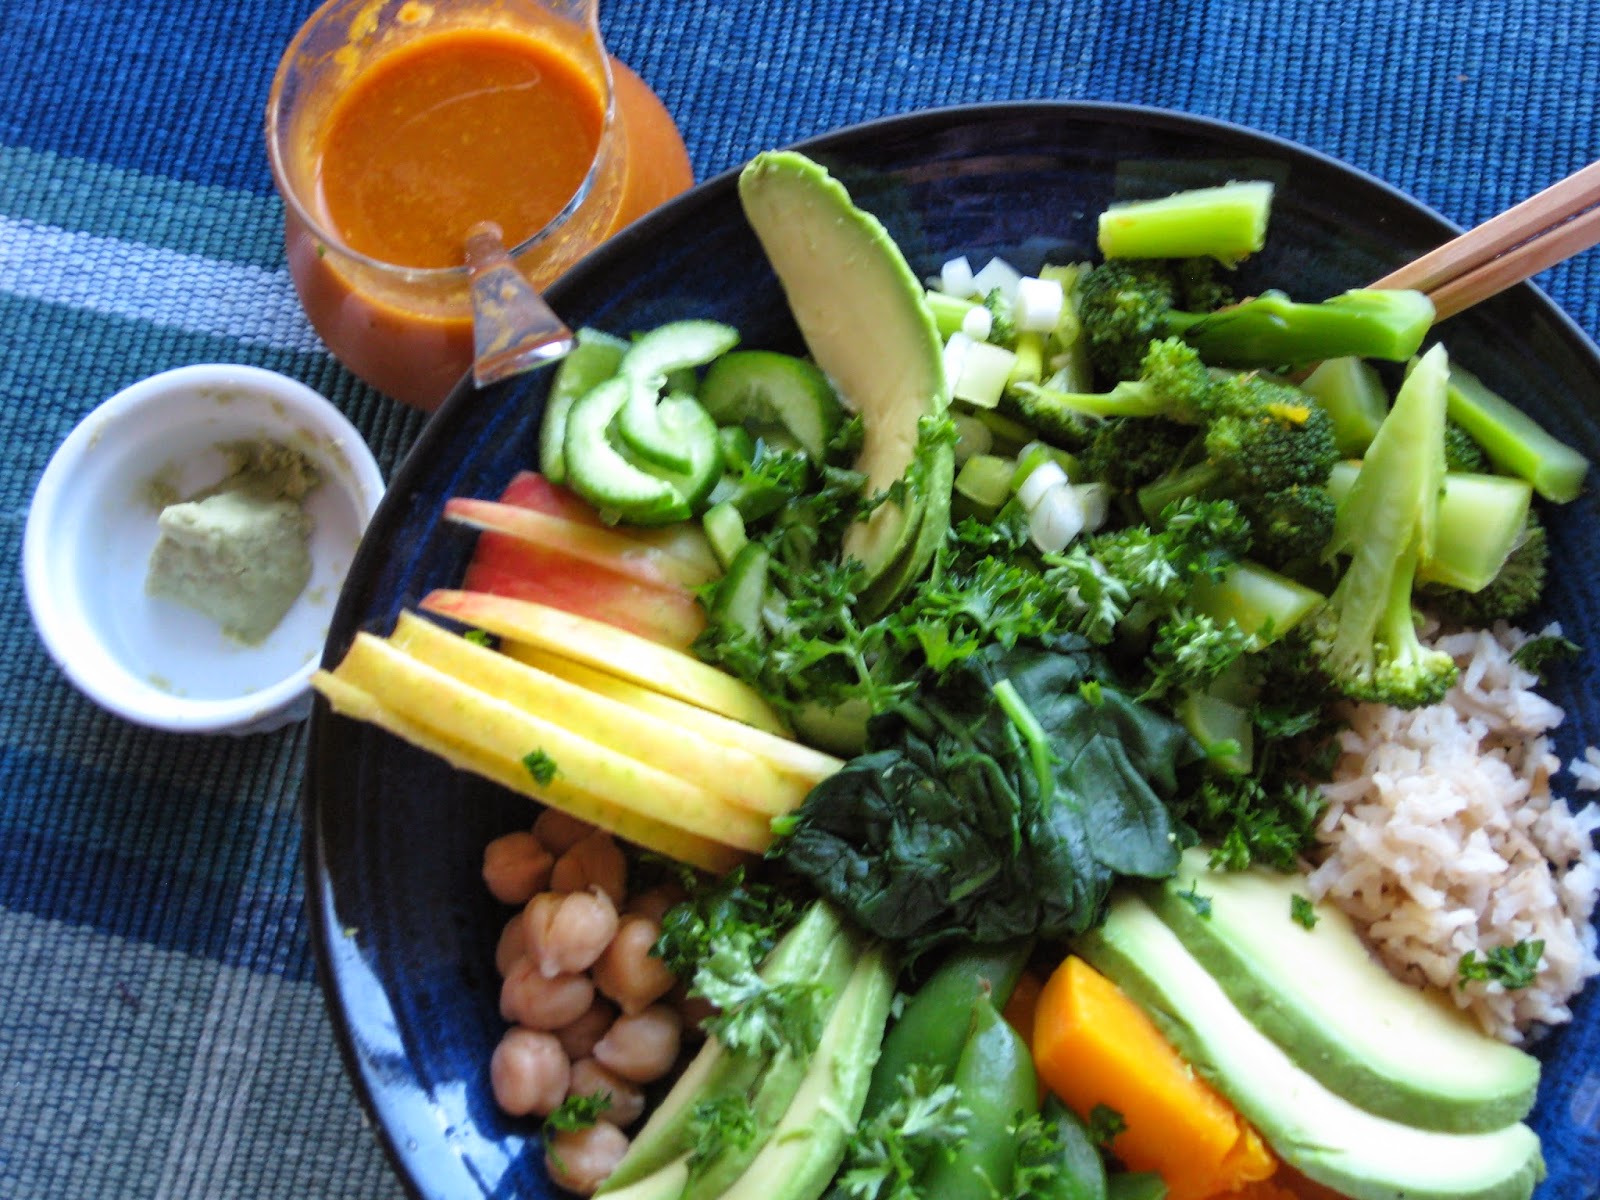
This nice little salad only takes a few minutes longer to make than a traditional Caesar salad, but it’s better because it’s gluten-free, vegan, and nearly raw! The garum masala is a surprise, though. A really yummy one!

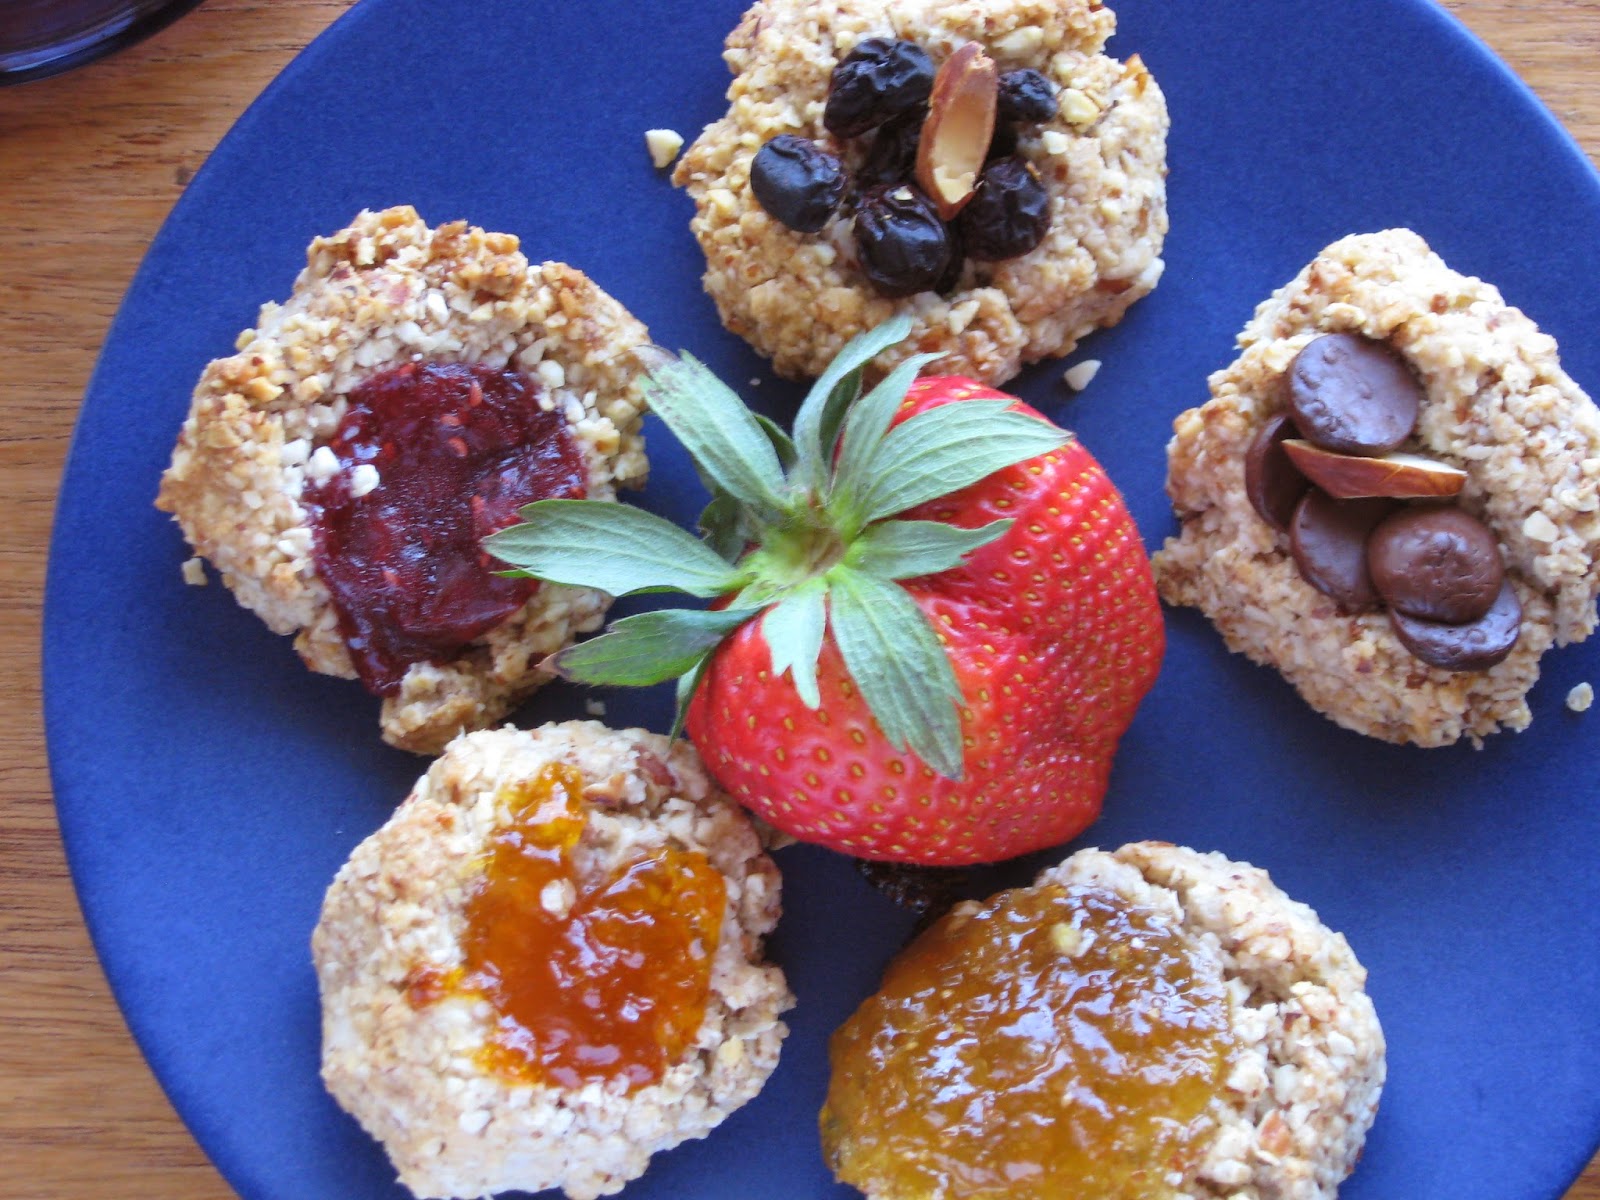
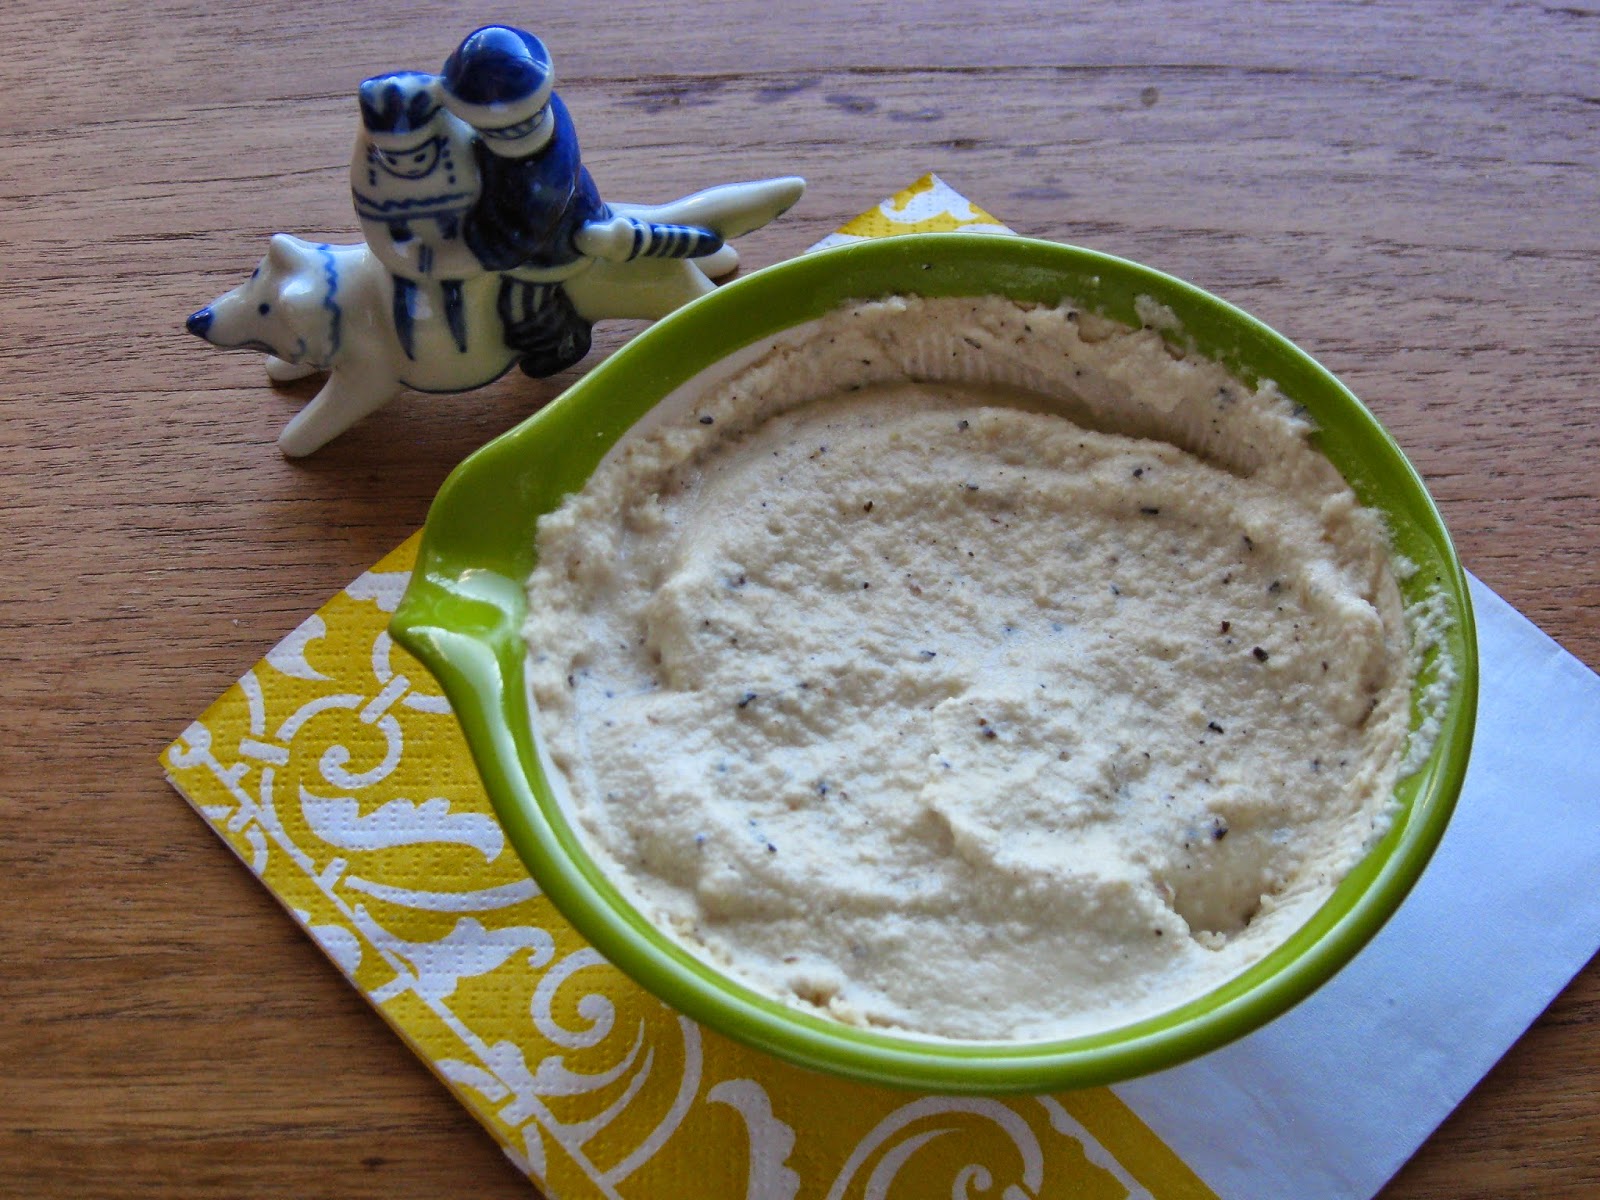
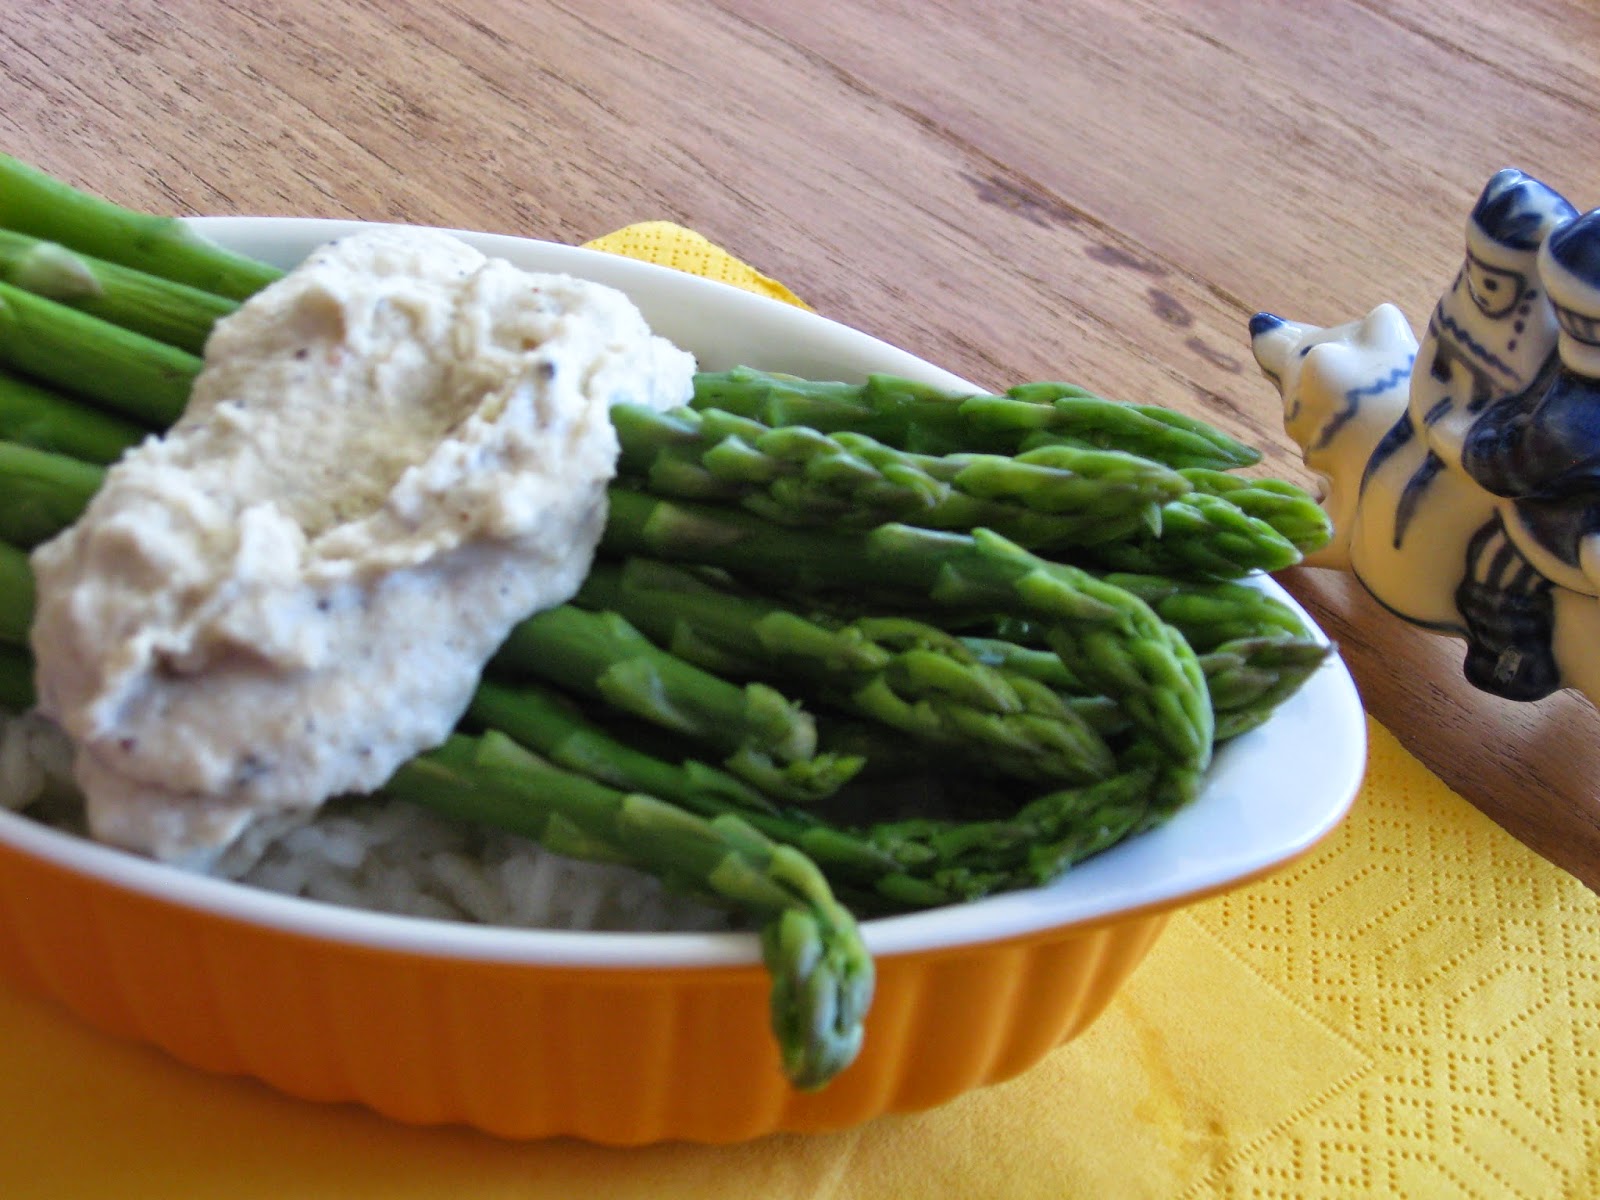
Oh, and the spread on the crackers in the back? That’s Boursin, from Miyoko Schinner’s book “Artisan Vegan Cheese.” Good stuff!

For the Chickpeas:
¼ cup cooked chickpeas
A slosh of olive oil
A pinch of garam masala (or curry powder)
A sprinkle of garlic powder
A pinch of fine sea salt
For the Garam Masala Parmesan:
¼ cup walnuts
1 small clove garlic
½ TBLSP nutritional yeast
A pinch of garam masala powder (or curry powder)
A pinch of sea salt
For the Dressing:
1 TBLSP tahini
1 ½ TBLSP water
1 small garlic clove, minced
Juice of a small wedge of lemon
2 teaspoons nutritional yeast
½ teaspoon Dijon-style mustard
A pinch of fine sea salt
For the Greens:
1 fistful of kale, stemmed and cut or torn bite-sized
½ carrot, julienned
1 slice of red onion (or 1 green onion), diced

To Roast the Chickpeas:
Preheat the oven to 350 degrees.
  1. Place the chickpeas in a pile in the middle of a baking sheet (one with edges, so you don’t lose any).
  2. Sprinkle the olive oil, garam masala, garlic powder, and salt on the chickpeas, and give them a toss to combine them. Spread the chickpeas out on the baking sheet in a single layer.
  3. Bake for 25-30 minutes, tossing them at about half-way. Don’t let them burn!

Prepare the Parmesan:
  1. In a food processor or blender, place the walnuts, garlic, yeast, garam masala, and salt. Pulse until it’s crumbly and nice.
  2. Remove to a small bowl because you need the blender again.

Prepare the Dressing:
  1. Place the tahini, water, garlic, lemon juice, yeast, mustard, and salt in a food processor or blender. Whirl away until it’s smooth and creamy. If it needs more moisture, add water or juice. If it needs to be thicker, add tahini.

Assemble the Salad:
  1. Put the greens into a serving bowl and put the dressing on them. Toss until everything is well lubricated.
  2. Sprinkle on the roasted chickpeas and the parmesan.
  3. If desired, another squirt or two of lemon juice on top of it all is nice.

Serve right away. If you’re bringing this one to work or on a picnic, don’t dress the greens until you’re ready to eat, or they’ll get soggy.

Variations:
  • You could toss some faux meat at this, like seitan or disks of tofurkey brats.
  • Sunflower seeds would be nice on top of this salad, along with the chickpeas and faux parmesan. Or pomegranate arils. Yah, that would be really good.
  • Switch out the kale and use the more traditional romaine lettuce. I love this with sliced black olives, too. Yummy. 


Saturday, March 28, 2015

Peanut Butter and Chia Jelly Thumbprint Cookies for One


These treats sound like they’d be sturdy and rustic, but they’re delicate treats, like the kind you’d serve to the Queen at a posh tea party. Making your own jam means that it will come out exactly how you want it, too.

For the Chia Jelly:
½ cup raspberries, blueberries, strawberries, or other fruit (fresh is best)
½ TBLSP maple syrup
1 teaspoon chia seeds
Splash of vanilla extract

For the Cookie:
½ TBLSP flax seed meal
1 ½ TBLSP water
¾ cup coconut or almond flour
Pinch of baking soda
Pinch of salt
Pinch of cinnamon
1/3 cup peanut butter
¼ cup maple syrup or agave nectar
Large splash of vanilla extract

You can do this step after the 10-minute wait in Step 2. Preheat the oven to 350 degrees. Line a baking sheet with parchment paper.
  1. In a small bowl, combine the flaxseed meal and water. Stir it up well, and then leave it alone to become a gloppy mess.
  2. In a small saucepan, combine fruit, syrup, chia seeds and vanilla, heating it on medium heat for 10-12 minutes, stirring frequently, until the fruit breaks down and the jam begins to thicken. When it’s done, put it in the refrigerator or freezer to cool while you prepare the cookies.
  3. In a small bowl, combine the flour, baking soda, salt, and cinnamon.
  4. In another small bowl, combine the peanut butter, syrup, flax glop, and vanilla. Add the flour into the peanut butter mixture and combine until it forms a soft dough.You might need more moisture, in which case, add non-dairy milk by dribbles. The dough should just barely hold together, but it needs to be moist enough not to crumble when you put the divot into it and leave it on the baking sheet. 
  5. Roll TBLSPs of the dough into balls and place them on the prepared baking sheet about an inch and a half apart. You should get six or eight cookies. Using your thumb, a finger, or the back of a spoon, make an indentation for the jelly.
  6. Fill the indentation with a healthy glop of jelly.
  7. Bake for 11-12 minutes, or until firm to the touch.

Let them cool on the baking sheet—if you move them too soon, they’ll crumble into a crumbly gooey mess. 

Friday, March 27, 2015

Almond Thumbprint Cookies for One


Despite all the classy ingredients, this is really a pretty rustic cookie. For that reason, my favorite way to fill them is with a bit of almond butter in the bottom of the indentation and some apricot jam on top of it. Such a lovely surprise when you bite into it!

7 TBLSP raw almonds
4 teaspoons coconut flour (or other gluten-free flour)
12 teaspoons ground flax seed
Pinch of salt
Pinch of baking powder
2 ½ TBLSP almond butter
3 ½ TBLSP maple syrup (or agave nectar)
Splash of almond extract
2 TBLSP shredded coconut
2 (or so) TBLSP jam

Preheat the oven to 350 degrees Fahrenheit. Line a baking sheet with parchment paper or spray it with non-stick oil.
  1. Grind the almonds into a meal in a food processor or blender. A few chunks are all right.
  2. In a small bowl, combine the almond meal, flour, flax seed meal, salt, and baking powder. Break up any clumps of almond meal.
  3. In another small bowl, combine the almond butter, syrup, and almond extract. Once it’s well combined, mix it with the dry ingredients until it’s thoroughly mixed. If the dough is very sticky, let it rest in the refrigerator for 15 minutes before proceeding.
  4. Put the coconut in a small bowl. I like to use one for dipping sushi into. Roll 1 TBLSP or so of the dough into a 1-inch ball and then roll it in the coconut to coat. Set it on the prepared baking sheet and press a divot into the center with your thumb, a finger, or the back of a spoon. Smoosh it together if the edges split. Repeat with the rest of the dough. You should get 5 or 6 cookies.
  5. Fill the indentation with jam. I like to use a variety, so each cookie tastes a little different from the last.
  6. Bake for 10-12 minutes. Watch them carefully after about 9 minutes because they will suddenly burn. The coconut should be golden and the cookie should be a little firm to the touch. They will firm up more as they cool.

Let them cool on the baking sheet or they will crumble into small pieces that will elude any effort you make to snarfle them up. It will be delicious, but Miss Manners will have a chat with you.

Variations:
  • Roll the finished cookies in ground nuts instead of coconut.
  • Use another kind of nut and its related butter, like peanuts and peanut butter or cashews and cashew butter. Nuts vary wildly in fat content, so you might have to add oil or a dab of non-dairy milk to get the right texture in the dough.
  • Fill the depressions with chocolate chips, raisins, nut chips, nut butter, apple butter, or cranberry sauce. There’s no reason to confine yourself to traditional jam. Go wild! 


Thursday, March 26, 2015

Whole Wheat and Almond Thumbprint Cookies for One


Everyone who’s ever made a thumbprint cookie knows that it’s fun to play around with the filling. Did you know that it’s also fun to play around with the cookie? I wanted a more wholesome cookie, and this is what I came up with. (Shh. Don’t tell my metabolism about the syrup or the jam.)

½ cup whole wheat flour
6 TBLSP whole raw almonds, ground in a food processor
Pinch of salt
Shake or two of ground cinnamon
2 TBLSP coconut oil, melted
2 TBLSP maple syrup or agave
Jam or chocolate chips
  
Preheat the oven to 350 degrees Fahrenheit. Line a baking sheet with parchment paper.
  1. Combine the flour, ground almonds, salt, cinnamon, oil, and syrup in a small bowl.
  2. Take a TBLSP of the dough and shape it into a ball and continue until the dough is gone, about 5 or 6 cookies. Set the balls on the parchment paper.
  3. Using your finger or thumb, or the back of a teaspoon or melon baller, make a dent in the center of each cookie.
  4. Fill each depression with a small amount of jam (half a teaspoon, perhaps) or five or six chocolate chips.
  5. Bake for 20 minutes, until the cookies are lightly browned.

Let them cool on the pan for a few minutes or they will crumble.


In the picture, you’ll see raspberry jam, apricot jam, and white fig jam, chocolate chips (it took about 5 to fill the depression), and apricot/chocolate and raspberry chocolate, because that’s just how I roll. 

Wednesday, March 25, 2015

Oat and Coconut Thumbprint Cookies for One


I was surprised how good these little guys were because I’d been making thumbprint cookies all week. Some of the others were cute, all of them were tasty, but this cookie offered a rich maturity that you just don’t find in a cute cookie.

1/3 cup rolled oats
¼ cup coconut (unsweetened, preferably)
1/3 cup all-purpose flour
1/3 cup granulated sugar
1 ½ TBLSP vegan butter
2 teaspoons maple syrup or agave nectar
Pinch teaspoon baking soda
1 TBLSP (or less) water, boiling
2 TBLSP (or so) of jam (strawberry, raspberry, fig, whatever)

Preheat oven to 300 degrees Fahrenheit. Line a baking sheet with parchment paper.
  1. In a small bowl, combine oats, flour, sugar, and coconut.
  2. In a second bowl, place the butter and syrup in a microwave for long enough to melt the butter. (You can also do it on the stove.)
  3. In an itty bitty third bowl, combine the baking soda with the boiling water. 
  4. Add the baking soda mixture to the butter mixture, and then add that gloppy mess to the oat mixture. Combine well. Add a little more water if it seems too dry.
  5. Make 1-inch balls out of about a TBLSP of the dough and place them on the prepared baking sheet. It will make between 5 and 6 cookies, and they will spread considerably, so give them plenty of room, maybe two inches between each ball. Flatten them slightly, and make a nice depression in the top with your thumb, a finger, or the back of a spoon. Add a dollop of jam to the depression. Sprinkle with coconut to garnish, if desired.
  6. Bake for 20 minutes, checking periodically. These cookies suddenly go brown, so you’ll have to keep an eyeball on them.


Variation:
I had some chocolate sauce left over from making these DarkChocolate Thumbprint Cookies, and so I swozzled it all over the tops of a few of them (and some strawberries). Mmmmm.


Tuesday, March 24, 2015

Multi-Nut Thumbprint Cookies for One


These cookies are crunchy little nuggets of protein. Their pleasant nutty flavor nicely compliments the sweetness of the jam, and their size encourages popping them in your mouth and making them go away! Oh, and they’re gluten-free, just for the fun of it!

½ cup coconut flour
2 ½ TBLSP walnuts, finely crushed or processed in a food processor
1 TBLSP sugar
Pinch of ground cinnamon
Pinch of salt
5 teaspoons maple syrup (1 2/3 TBLSP)
2 teaspoons brown rice syrup
Splash of vanilla extract
4 teaspoons coconut oil, melted (1 1/3 TBLSP)
1 TBLSP almond milk (or other non-dairy milk)
2 TBLSP (or so) jam
2 ½ TBLSP pecans, crushed or processed in a food processor

Preheat the oven to 350 degrees Fahrenheit. Line a baking sheet with parchment or a non-stick mat.
  1. In a small bowl, combine the flour, crushed walnuts, sugar, baking powder, cinnamon, and salt.
  2. In another small bowl, combine the syrups, vanilla, coconut oil, and almond milk.
  3. Add the wet mixture to the dry and stir until just barely combined.
  4. Roll the dough into five or six 1-inch balls and place them on the prepared baking sheet.
  5. Here’s the fun part. Put the crushed pecans into a small plate or bowl. Wet your hand slightly and pick up one ball at a time, getting it just wet enough for the pecan pieces to stick to it when you roll the ball in there. Repeat for all the balls.
  6. With your thumb, a finger, or the back of a spoon, make an indentation in each cookie. How big you make it controls how much jam you put in there, so go wild, or be conservative, as you wish. Fill each indentation with jam.
  7. Bake for 15-18 minutes, until the cookies are slightly firm to the touch.

Let them cool on the baking sheet for about 15 minutes, and then place them in the refrigerator to continue cooling.

Variations:
  • The original recipe used kamut flour instead of coconut flour and added almond extract too. I liked the flavor, but I found them too wet, and the small amount of almond extract in my smaller batch didn’t render enough flavor to make the added moisture seem like a good idea. Experiment with whatever gluten-free flour you have on hand.
  • You can use any kind of jam you like, obviously, but consider chocolate, pieces of some mushed up fruit (apple sauce, crushed pineapple, mashed banana, for instance), or even some sort of caramel.


Monday, March 23, 2015

Dark Chocolate Thumbprint Cookies for One


If you’re in the mood for some crunchy coconut and some fabulous chocolate, this is the cookie you’ve been waiting for. The recipe is easy, but the result is fancy—it’s too bad you’re not going to share these!

For the Cookies:
2 TBLSP bittersweet chocolate chips (at least 60% cocoa)
1 TBLSP coconut sugar (or fine granulated sugar)
1 TBLSP non-dairy milk (I like almond, but coconut would be very good)
Splash of vanilla extract
A pinch of sea salt
1 cup unsweetened shredded coconut
For the Chocolate Filling:
1 ½ TBLSP bittersweet chocolate chips (at least 60% cocoa)
¾ teaspoon coconut oil

Preheat the oven to 350 degrees Fahrenheit. Line a baking sheet with parchment paper.
  1. In a double boiler, melt the chocolate with the sugar, milk, vanilla, and salt. Stir it constantly until it’s fully melted and combined. Don’t dump the pan in the sink, though, because you’re going to want it in a minute.
  2. Remove the bowl from the heat and stir in the shredded coconut. Let it sit for about 5 minutes to gather all its coconutty goodness and to better facilitate holding together.
  3. Scoop up a very full TBLSP of the dough and roll it between your hands to form a 1-inch ball. Place the ball on the prepared baking sheet and repeat with the rest of the dough, placing them about 1-inch apart. You should have three or four cookies.
  4. With your thumb, a finger, or the back of a spoon, make an indentation in the top of each doughball.
  5. Bake for 12-14 minutes, rotating the pan 160 degrees about halfway through.
  6. Let them cool on the baking sheet, perhaps re-pressing the indentations to make sure they’re feeling receptive.
  7. While the cookies are baking, melt the filling ingredients together in the double boiler. Stir it well so that it’s very smooth and silky.
  8. When the cookies are cool, fill the indentations with the melted chocolate mixture. I use a small spoon, but maybe you’re an accurate pourer.
  9. Let them sit at room temperature until firm, or place in the refrigerator for a few minutes, if you really can’t stand the wait.


Variations:

  • Fill the bottoms of the indentations with chocolate, layer in a little apricot or raspberry jam, and put some more chocolate on the top. Mmmmm. 

Sunday, March 22, 2015

Almond and Oat Thumbprint Cookies for One


These tasty treats may seem simple, but the amount of flavor in these little guys packs a big wallop.

¼ cup whole raw almonds
½ cup old-fashioned oats
Pinch of salt
3 TBLSP all-purpose flour
1 ½ TBLSP coconut oil, melted (or canola oil)
1 ½ TBLSP maple syrup (or agave nectar)
Jam, apple butter, or marmalade of your choice

Preheat oven to 350 degrees Fahrenheit. Line a baking sheet with parchment paper. You can do these during Step 4, the “letting it sit” step.
  1. In a food processor, pulse the nuts until they are chopped fairly small. You don’t want them pulverized into flour, though. You’ll want the chunks. Move the chopped nuts to a small bowl.
  2. Now grind the oats and salt in the food processor. You can go pretty small on this one, if you want, or leave a few larger pieces for texture.
  3. Put the oats and salt into the bowl with the ground nuts along with the all-purpose flour, the oil and maple syrup. Give it all a good stir. This will make a very soft dough. If it seems too loose, like pancake batter, add a little more all-purpose flour.
  4. Let it sit on the counter for about 15 minutes. It will stiffen up a bit and be workable.
  5. Form the rested dough into balls about 1-inch across and place them on the parchment-covered baking sheet. You should get five or six balls. Give them some room, as they will spread.
  6. Use your thumb, a finger, or the back of a small spoon to make an indentation in the top of each cookie. Fill each indentation with jam.
  7. Bake for 15 minutes, or until the cookies begin to brown slightly. Let them cool on the baking sheet for about 15 minutes before moving to a rack to cool completely (or devouring) or they will crumble into an unholy mess.


They don't have to all use the same filling. Why not shake things up? In the photo, they're filled with (clockwise from the top left) raspberry jam, raisins and sliced almond, chocolate chips and sliced almond, white fig jam, and apricot jam. 

Variations:
  • Use whole wheat instead of all-purpose flour for a more substantial cookie.
  • Stick 5 or 6 chocolate chips into the indentation instead of jam.
  • Use another sort of nut, like walnuts, pistachios, or pecans for a different flavor. Nuts have different amounts of fat in them, though, so be prepared for a Big Change (such as spreading more in the oven, a less crispy mouth-feel, and, of course, the taste).
  • Dot the tops with slivered almonds or raisins instead of using jam.
  • Toss a little coconut into the mixture.
  • Swozzle the tops with melted chocolate. Mmmm. 


Thursday, March 19, 2015

Broccoli Tofu for One


This simple little dish tastes like a ray of sunshine. Well, that was a bit of hyperbole, but it’s really very good. With broccoli and tofu as the star attractions, you know you’re getting your vitamins and proteins with the maximum amount of joy.

         2 TBLSP water
         1 TBLSP mirin or dry sherry
         2 ½ teaspoons tamari or soy sauce
         2 ½ teaspoons cornstarch, divided
         2 teaspoon granulated sugar
         4 ounces (about a third of a 14-ounce package) extra firm tofu, drained and pressed
         Pinch of salt
         1 ½ TBLSP canola oil, divided
         1 clove garlic, minced
         1 teaspoon minced fresh ginger
         1 ½ cups broccoli florets
         1 TBLSP water

  1. In a small bowl, combine 2 TBLSP water, mirin, tamari, ½ teaspoon cornstarch, and sugar, and set it aside.
  2. Once your tofu has been pressed and drained, cube it into 3/4-inch cubes (or so). Pat them dry with a paper towel.
  3. In a cereal bowl, put the remaining 2 teaspoons of cornstarch and a pinch of salt, and toss the tofu in it gently, to coat it.
  4. In a non-stick skillet over medium-high heat, heat 1 TBLSP of canola oil and add the tofu. Don’t stir it for a couple of minutes, to allow it to form a slight skin. Then turn the pieces over to form a skin on another side, and leave it undisturbed for another two or three minutes. Keep gently turning the cubes until they’re browned all over, perhaps another five minutes, less if you have small cubes. Transfer the browned cubes to a plate covered with a paper towel to absorb the oil.
  5. Reduce the heat slightly, and add the remaining oil, if needed (or dump out excess oil. You’ll only need there to be about a tablespoon in there). Add in the garlic and ginger, cooking until fragrant, about 30 seconds. Add the broccoli and water and cover the pan. Stir it a couple of times while it cooks, until the broccoli is tender but still crisp, about four minutes.
  6. Add the mirin/tamari sauce (from step 1) to the pan, and cook until the sauce thickens, perhaps two minutes. Add the tofu to the pan and combine with the sauce.

Serve over rice or noodles, or even shredded cabbage. Or, if you’re really feeling wild, just eat it unaccompanied.
  
Variations:
  • Add 2 TBLSP raw cashews when you return the cooked tofu to the pan.
  • Decorate the completed dish with toasted sesame seeds.
  • Add a little rehydrated wakame (seaweed) to the top or around the edges.


Monday, March 16, 2015

Squashy Stir-Fry for One


This one might be called “Kitchen Sink Stir Fry” because it uses up a lot of loose ends in the kitchen. You don’t have to use the same ingredients that I used—raid your own pantry and fridge! Also, this recipe doesn’t demand Chinese Five Spice or Soy Sauce, so it has a lighter flavor than most stir fries. You can add those things, of course, if you want them.

1-2 TBLSP olive oil
1 1-inch slab of celeriac (celery root), cubed
1 2-inch chunk of squash or sweet potato, cubed (I used kobucha)
½ a parsnip, cubed
2 slices of yellow onion, diced
¼ small fennel bulb, diced
½ leek, julienned
2 mushrooms, halved and sliced thinly
1/3 cup peas (raw or cooked, doesn’t matter)
1/3 cube of extra firm tofu, in small cubes (about 1/3 cup)
1-inch fresh ginger, peeled and diced finely
1 clove garlic, peeled and diced finely
1-2 TBLSP sesame oil
1 cup fresh spinach
Sesame seeds for garnish
  1. In a frying pan or wok, heat the oil, and stir fry the firmer veggies (celeriac, squash, parsnip, and onion) on high heat for 5-7 minutes, until they start to soften.
  2. Add in the fennel, leek, mushrooms, peas, tofu, ginger, and garlic, and continue to stir fry until everything softens, about 5 minutes.
  3. Drizzle the sesame oil over the top of everything and give it another stir. Put the spinach on top of everything, and turn it over so that the spinach gets mixed in nicely. Your meal is done when the spinach has started to wilt.
  4. Sprinkle the sesame seeds on top for garnish


I like this served over rice or noodles, but there’s no reason not to go it plain!

You could also add soy sauce or hoisin for a little perkiness. 

Thursday, March 12, 2015

Peanut-Butter Banana Pancakes for One


Breakfast isn’t my favorite meal. I’m a morning person, but I’m just not a food-in-the-morning person. So in order to make myself eat this important meal, I play with my food. This tasty little number combines some of my favorite flavors into a pancake: peanut butter, bananas, and (faux) cream cheese!

1 teaspoon flax seed meal
1 1/2 teaspoon water
½ banana, mashed
4 teaspoons (or a loaded TBLSP) of faux cream cheese
A splash of vanilla extract
½ TBLSP (or 1 ½ teaspoons) of peanut butter
1 TBLSP almond flour (you could also use oat or coconut flour)
½ TBLSP whole wheat flour (you could use all whole wheat, all oat, or some other kind of flour and they’ll still be yummy. Even gluten-free!)
A heavy sprinkle of ground cinnamon
A pinch of baking powder

  1. Combine the flax seed meal and water in a small bowl. Set it aside to become a gooey mess.
  2. In another bowl, stir together the mashed banana, cream cheese, vanilla, and peanut butter. It may take some effort. Then add the flours, cinnamon, and baking powder. Add in the glop that your flax seed meal has become and stir until it’s well mixed.
  3. Scoop half the batter into a greased and hot pan. Let it cook for about 4 minutes, until bubbles have popped all over the top. These may take a little longer than you expect because they’re quite thick. Then flip it and cook the other side, until golden brown, about another 2 minutes. Repeat with the other half of the batter.
  4. Serve warm with extra peanut butter, sliced banana, and maple syrup.

Variations:
  • You could toss in a handful of chocolate chips or raisins. Or peanuts! Go crazy! Candied ginger is nice too!
  • You could top these little guys with jam or a variety of fruits.
  • You could drizzle chocolate sauce over them instead of syrup.
  • You could use agave nectar instead of syrup. 


Monday, March 9, 2015

Creamy Lemon Pepper Sauce


Sometimes, you want a thick sauce, but you still want delicate flavor. This recipe is super easy, super light, and super perfect for seasonal vegetables.

Makes about 1 cup. You’ll want that much. Trust me.

1/2 cup raw cashews (generous) (garbanzo beans work nicely too)
4 tablespoons fresh lemon juice
6-8 tablespoons water, as needed
1/2 teaspoon onion powder
1/2 teaspoon freshly ground black pepper
1/4 teaspoon fine sea salt

  1. Boil the cashews in water for 20 minutes. Drain and rinse the nuts and put them into a blender or food processor.
  2. Add the remaining ingredients and whirl until completely smooth. You’ll need to scrape the sides a couple of times during blending and it might take a couple of minutes. Taste and adjust the spices if necessary.
  3. I like it just barely warm from the boiled cashews, but you could heat it in the pan you boiled the nuts in, or microwave it a little, if you want a heated sauce.

  • This sauce makes a great salad dressing and is good on faux burgers, noodles, rice—just about anything that needs a sauce.
  • The sauce will thicken the longer it sits and especially after being stored in the fridge. Just thin it out with a tiny amount of water. You can heat it in the microwave, too.


 (That's rice underneath the asparagus, not more sauce. I'm not a crazy person, after all!)

Variations:

  • Like making hummus with various beans, this is good with a variety of nuts. Try them all! 

Thursday, March 5, 2015

Chewy Molasses Cookie for One


This spicy little cookie is naughty and nice, sugar and spice. It’s quick, it’s easy, and it’s oh, so good! In fact, I’m pretty sure that if there were a dozen of these, I wouldn’t share them.

Makes 3 cookies

¼ cup all-purpose flour
Pinch baking soda
Pinch baking powder
Several shakes of cinnamon
Several shakes of nutmeg
A shake or two of ground ginger
Pinch of salt
1 TBLSP vegan butter
2 TBLSP granulated sugar
½ TBLSP canola oil
½ TBLSP molasses
1 TBLSP granulated sugar for rolling

Preheat oven to 350 degrees Fahrenheit. Line a baking sheet with parchment paper
  1. In a small bowl, combine the flour, baking soda, baking powder, cinnamon, nutmeg, and salt.
  2. In another small bowl, combine the butter and sugar until it’s fluffy. Add the oil and molasses and stir until well incorporated.
  3. Add the dry ingredients to the wet and combine, but don’t over-blend.
  4. Put the rolling sugar in a small bowl. I use one meant for wasabi.
  5. Roll about 1/3 of the dough into a small ball and roll it in the sugar. Place it on the prepared baking sheet and repeat with the rest of the dough.
  6. Bake for 10-13 minutes, until the edges begin to firm up.

Let them cool in the pan or they will crumble into a thousand sugary bits.


Monday, March 2, 2015

Sushi Salad Bowl with Carrot-Ginger Dressing for One


This refreshing bowl of veggies will fill you up. I called it a sushi salad because it looks like the messes I used to make when I was trying to make sushi (before I got my handy cheater tool), and the poor bedraggled sushi maki ended up tossed unceremoniously into a bowl. It still tasted good; it just wasn’t pretty. But this bowl IS pretty, and topped with a tangy carrot dressing, you’ll forget that you’re not eating sushi.
For the Dressing:
1 carrot, chopped into ½-inch pieces
1 teaspoon minced ginger
2 TBLSP vinegar (rice vinegar or apple cider vinegar)
2 TBLSP water
1 teaspoon olive oil
2 teaspoons sesame oil (peanut oil works nicely too, or it can be olive oil)
1 small clove garlic, minced
½ teaspoon brown rice syrup (or maple syrup)
¾ teaspoon soy sauce

For the Sushi Bowl:
1 cup cooked brown rice
¼ sweet potato, cubed
1/8 kobucha squash, cubed
1 large broccoli floret, cut up into bite-sized pieces
12 (or so) snap peas, whole
1 big fist-full of spinach, cleaned and trimmed
¼ can cooked chickpeas (or other bean), rinsed thoroughly and drained
1 small cucumber (pickle-sized), seeded and diced
¼ avocado, sliced thinly
¼ Fuji apple, sliced thinly (or the apple of your choice)
1 TBLSP fresh parsley or cilantro, chopped
Gomasio for garnish

Make the Dressing:
  1. Place all the ingredients into a blender or food processor and whirl until it’s all smooth and silky.
  2. If you want the dressing even smoother, steam the carrots for 5-6 minutes until they’re easily pierced with a fork. Then add them to the blender with the other ingredients.
  3. If you like your dressing thinner, add more water or vinegar, depending on your tartness quotient.

Make the Sushi Bowl:
  1. In a small pot, cover the sweet potatoes and squash with water and boil for 6-7 minutes, until nearly done. Toss the broccoli in there too, if you like, or you could do it with the snap peas and spinach, although it will be difficult to separate out, if you want to arrange it on your plate in a pretty pattern.
  2. In another small pot (or after the orange veggies finish), steam the snap peas and the spinach for about 3 minutes. Don’t stir it! You want the spinach on the top for the next step.
  3. Squeeze the spinach gently to remove as much water as you can.

Assemble the Sushi Bowl:
  1. Put the rice into the bottom of your serving bowl and top it with everything else. I like to alternate colors. But you don’t have to arrange it. You could just toss it in there. It will taste just as good.  
  2. Pour the dressing over the top, and garnish with gomasio and nori strips.


Variations:

  • Obviously, you can put in the vegetables that please you, but consider putting other fruit in there (tangerines are nice, as are pears, cherries, dried cranberries, and peaches), using sweetened sushi rice (shorter grain and tossed with rice vinegar and sugar), or using faux meats.